The Assignment Editor allows you to adjust assignment-level settings, such as the Grades Accepted Until date and the time limit. It also allows you to adjust question-level settings, such as the number of points each question is worth and the attempt penalty for each question.
Entering the Assignment Editor
To enter the Assignment Editor, do the following:
- In the Assignment List Page, select the Student Set associated with the assignment you would like to edit.

- Click on the title of the assignment you would like to edit.
- Once in the assignment, click the “Edit Assignment” button. This will bring up the Assignment Editor.

Edit Assignment Settings

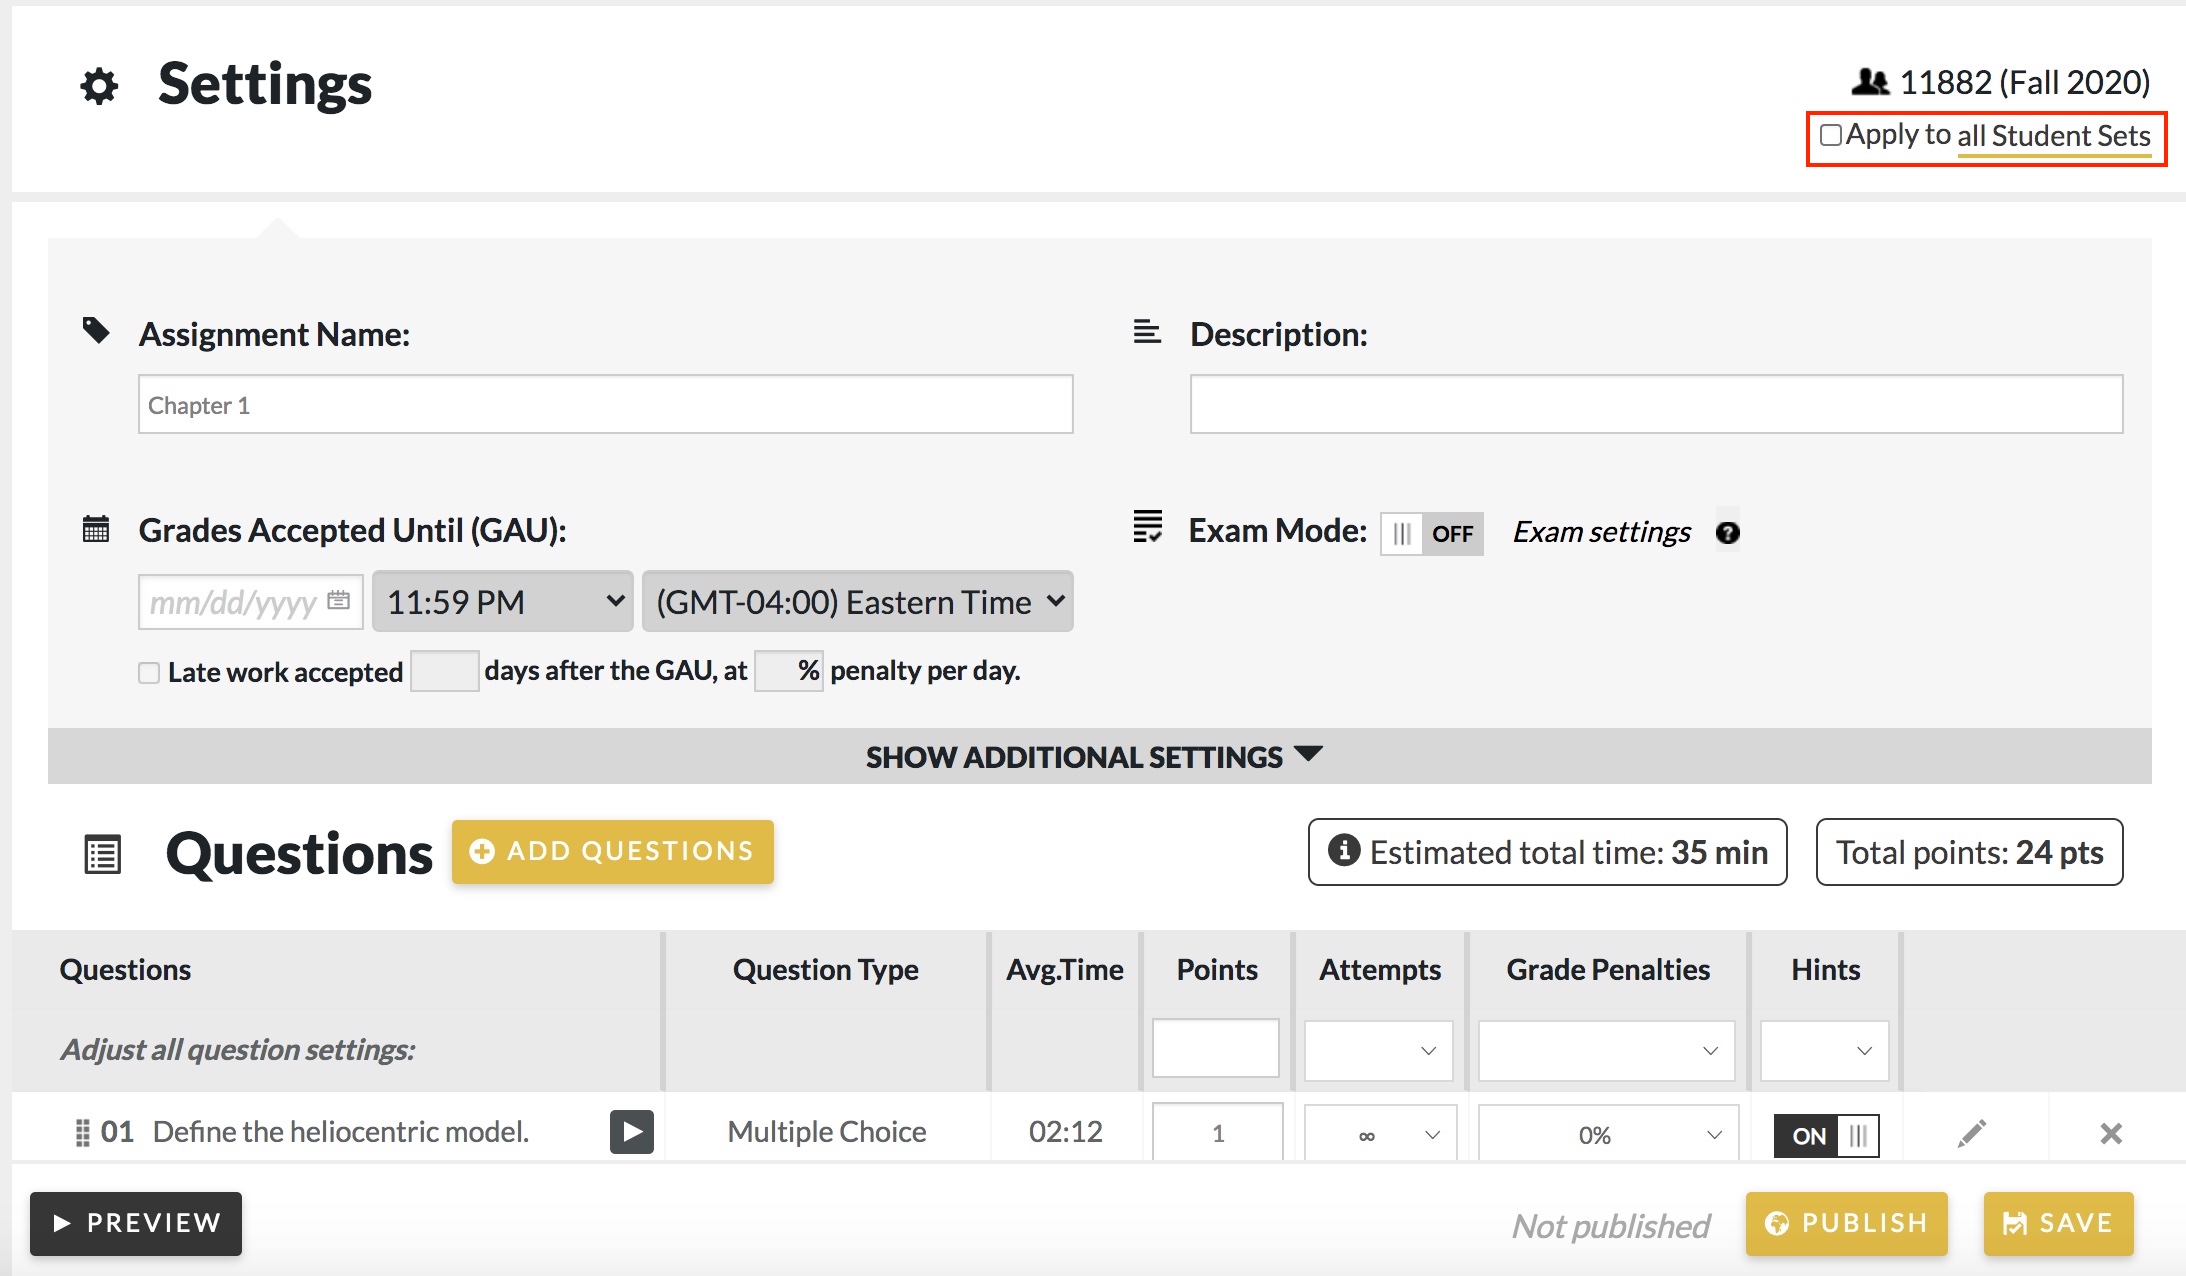
Once you enter the Assignment Editor, you can alter the following assignment settings:
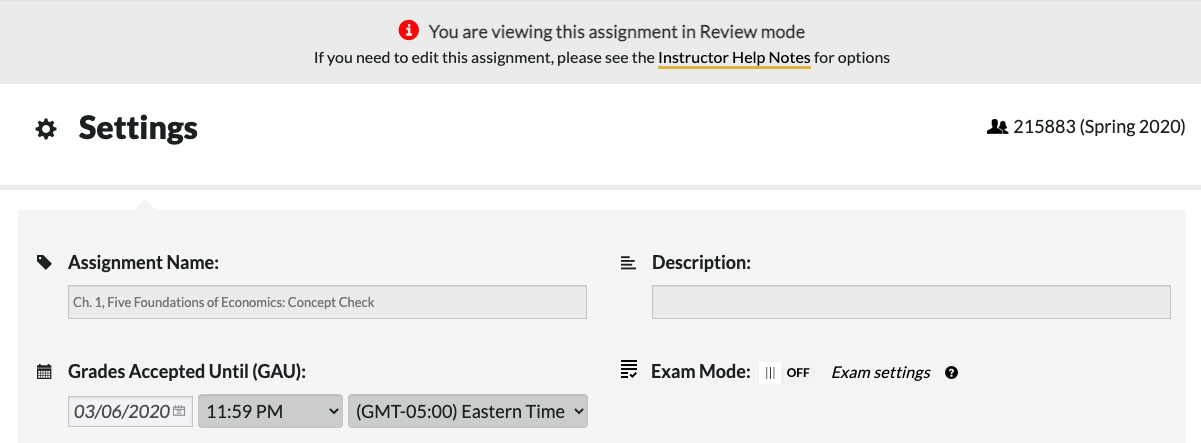
- Assignment Name– an editable text field that allows you to change the name of the assignment.
- Description– an editable text field that allows you to add a brief description of the assignment that displays to students.
- Grades Accepted Until (GAU)– this allows you to select when you want the assignment to close. Students cannot submit the assignment for a grade after the GAU date has passed.
Setting Grades Accepted Until (GAU) date
If an assignment does not have a Grades Accepted Until (GAU) date set, the “Grades Accepted Until” column will have a status of “not assigned.” To set the Grades Accepted Until date, do the following:
1. Click Edit next to the assignment.

2. In Edit Assignment, click the Grades Accepted Until date field (dd/mm/yyyy). Select the date your assignment will be due.


3. Click Save to save the Grades Accepted Until settings. The Grades Accepted Until date should be reflected on the activity page for the assignment under the Grades Accepted Until column.
Note: If you would like to change the date for your assignment, you will need to follow the same steps above to update the Grades Accepted Until date. The Grades Accepted Until date cannot be updated through the date on the assignment list page.

Important Note: Once you set a GAU for one assignment, the system will only calculate assignments with GAUs when averaging students final grades for the course. This means that once you set a GAU for one assignment, all assignments without GAUs will not be calculated into students’ course averages.
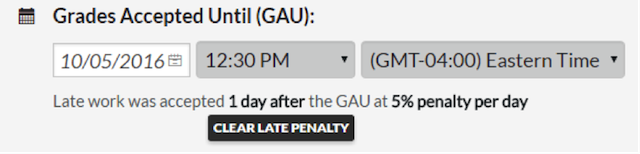
- Late work accepted– this allows you to select how a student's grade would be affected by submitting the assignment after a deadline. The "Late work accepted" checkbox will only be enabled once you have set a GAU. To accept late work for the assignment, do the following:
- Check the "Late work accepted" box.
- Enter the number of days after the GAU for which work will be accepted.
- Enter the penalty percentage per day to apply to work submitted during the allowed late period.


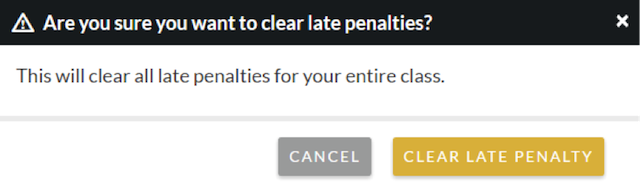
- Clear Late Penalty– this allows you to clear all late penalties for your entire class. The Clear Late Penalty button will be available only if the Late penalty checkbox was checked and after the GAU and the late work period have passed.
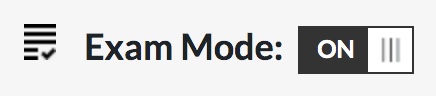
- Exam Settings – this allows you to assign exams to students. To learn more about Exam Mode click here.
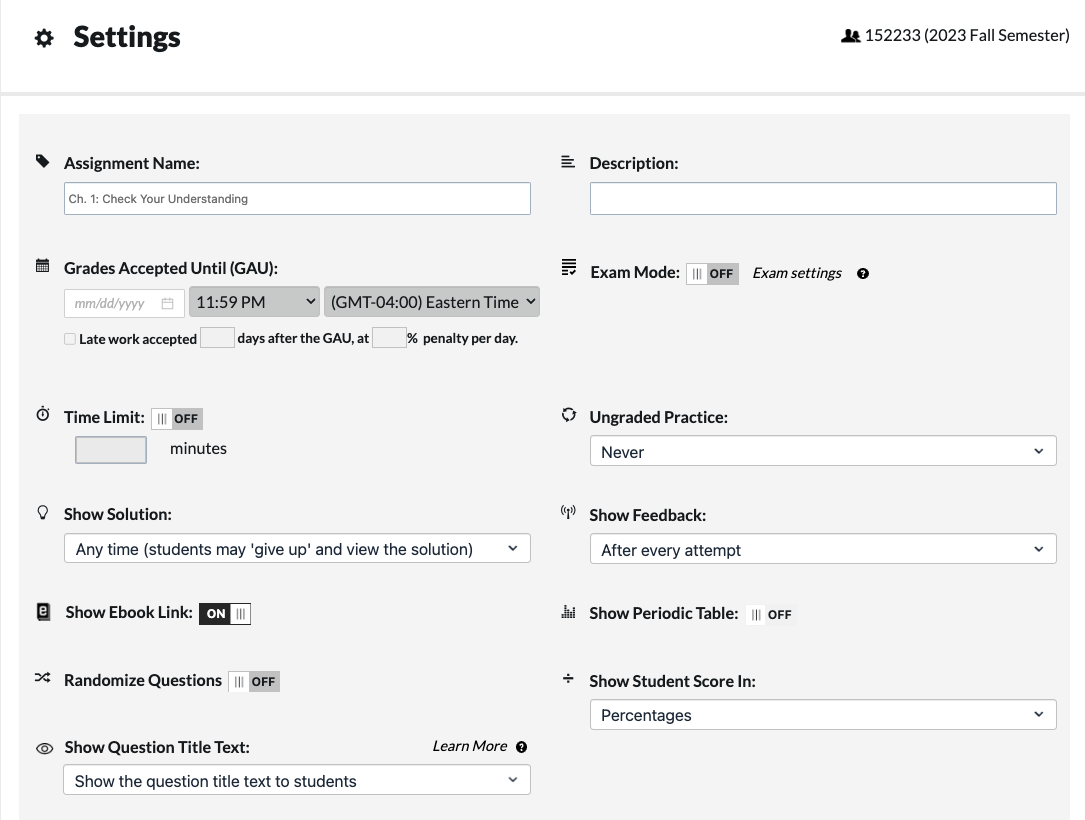
Expanding the Assignment Editor displays the following settings, which you can also edit:
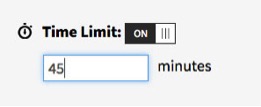
- Time Limit– this allows you to limit the time students have to complete an assignment. Students will see this time limit in the form of a countdown clock when they enter the assignment. To set the time limit, do the following:
- Next to “Time Limit,” toggle the switch to “On.”
- Type the time limit in minutes.
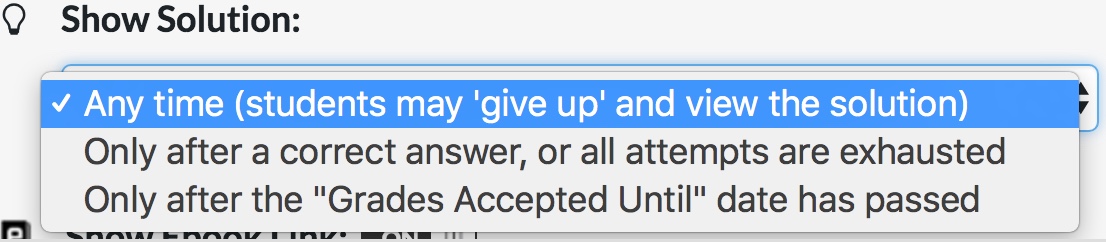
- Show Solution– this allows you to set when you want students to see the Solution for each question. Currently, you have three possible selections for when students can see the Solutions, which you can select via a dropdown menu.
- Any Time– This means that students can give up on a question and view the Solution at any time.
- Only after a correct answer, or all attempts are exhausted– this means students will only see Solutions if they get the answer correct, or if they used up all their attempts.
- Only after the “Grades Accepted Until” date passes– this means students will only see Solutions after the Grades Accepted Until date.
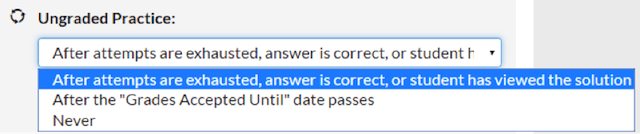
- Ungraded Practice– this allows you to reopen the assignment for practice once students have submitted their assignments. You can select the following options from the dropdown menu:
- Never– Students can never take the assignment for ungraded practice.
- After attempts are exhausted– Students can do ungraded practice any time after they submit the assignment for a grade.
- After the “Grades Accepted Until” date passes– Ungraded practice will only open after the GAU date.
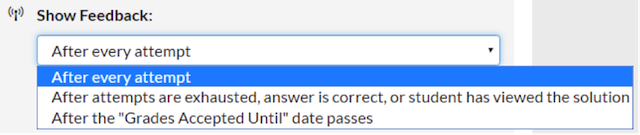
- Show Feedback– this allows you to set when you want students to see feedback for each answer attempt. Currently, there are three possible settings for showing answer feedback, which you can select from a drop down menu.
- After every attempt– Students will see feedback after every incorrect and correct answer attempt.
- After attempts are exhausted– Students will see feedback under the following conditions:
- They will see feedback on their last question attempt (so if they are allotted two attempts, they will see feedback after their second attempt only).
- If a student gets the answer correct.
- If a student viewed the Solution.
- Only after the “Grades Accepted Until” date passes– students will only see feedback on the attempts they made after the Grades Accepted Until date passes.
- Show Ebook Link– this allows you to allow the ebook link to display in the question. By default, this setting is toggled to "On."
- Show Periodic Table– this allows you to let students view the Periodic Table in an assignment. This setting is toggled to "On" by default for the science taxonomy.

- Show Question Title Text – this allows you to select whether students can see the title of questions within their assignment.
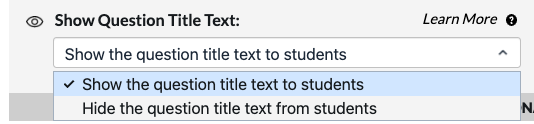
- Show the question title text to students - this will allow students to see the question titles of each question in their assignment. By default, the setting is set to "Show question title text to students."
- Hide the question title text from students – selecting this will hide the question titles of each question from students when they access their assignment.


Review Mode
Once your Student Set end date has passed, you will not be able to make any further edits, and the course will enter Review Mode. You will still be able to preview assignments, and to review student grades through the Class Activity Report.
If you want to reopen the course to students or edit assignments after the end date of your Student Set, you can extend the end date through the Manage Student Sets menu. This will remove the course from Review Mode. At that point, the assignments should become editable again for you and accessible by your students.
Editing Question Settings
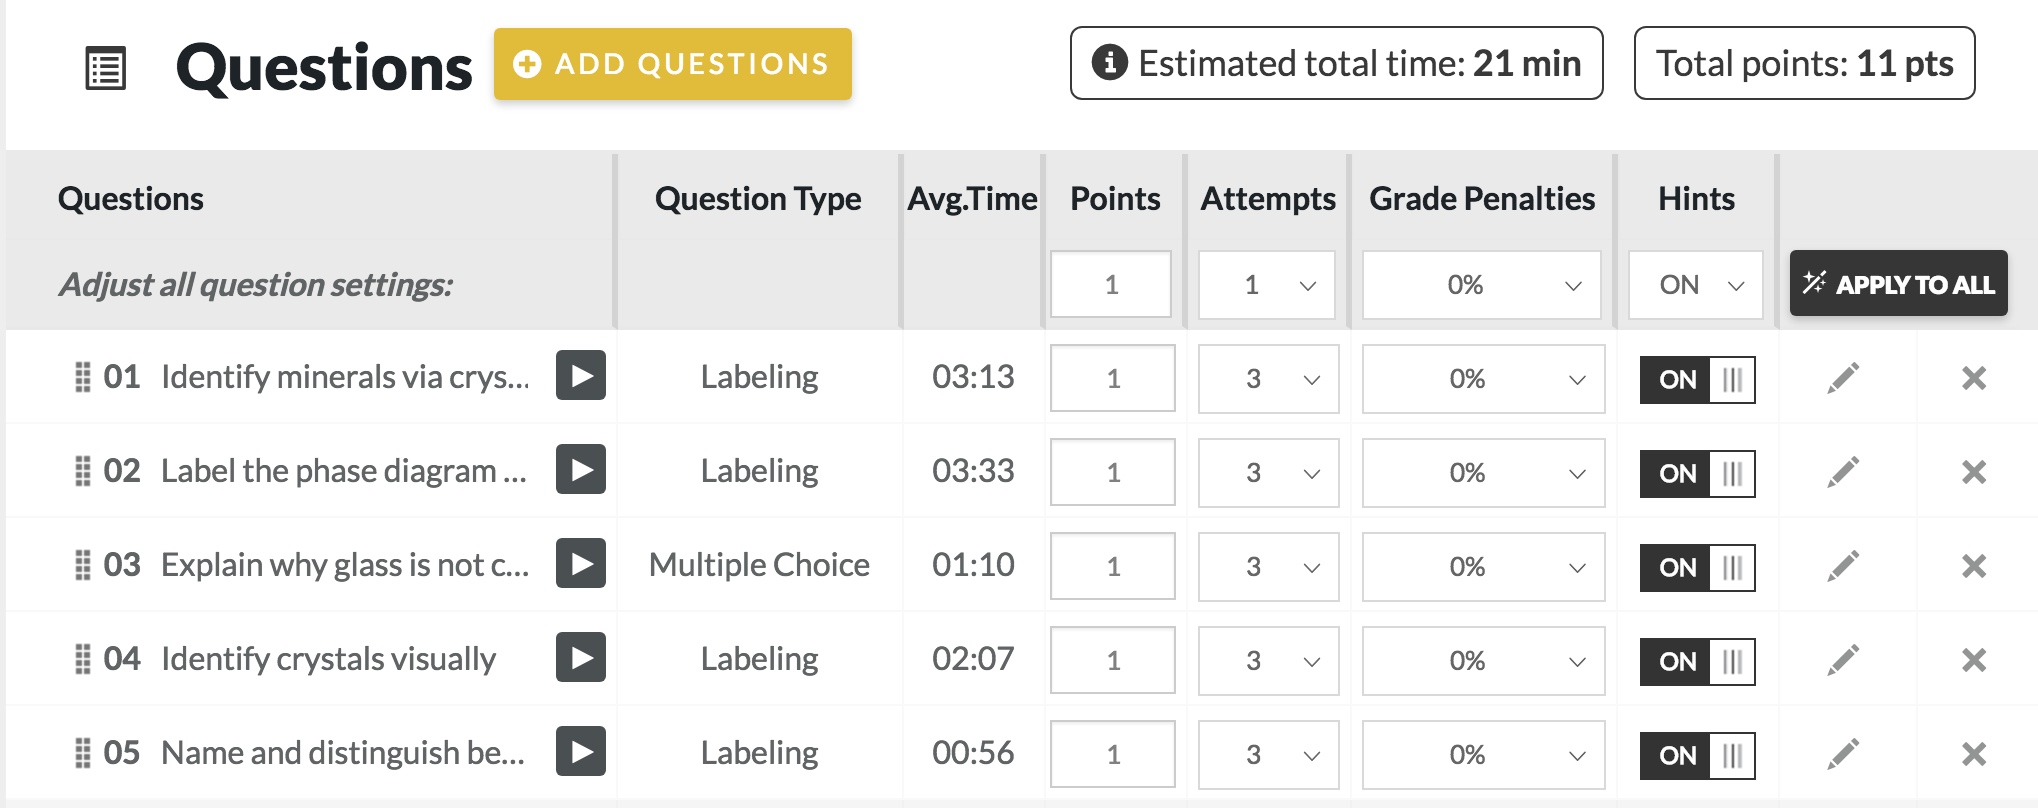
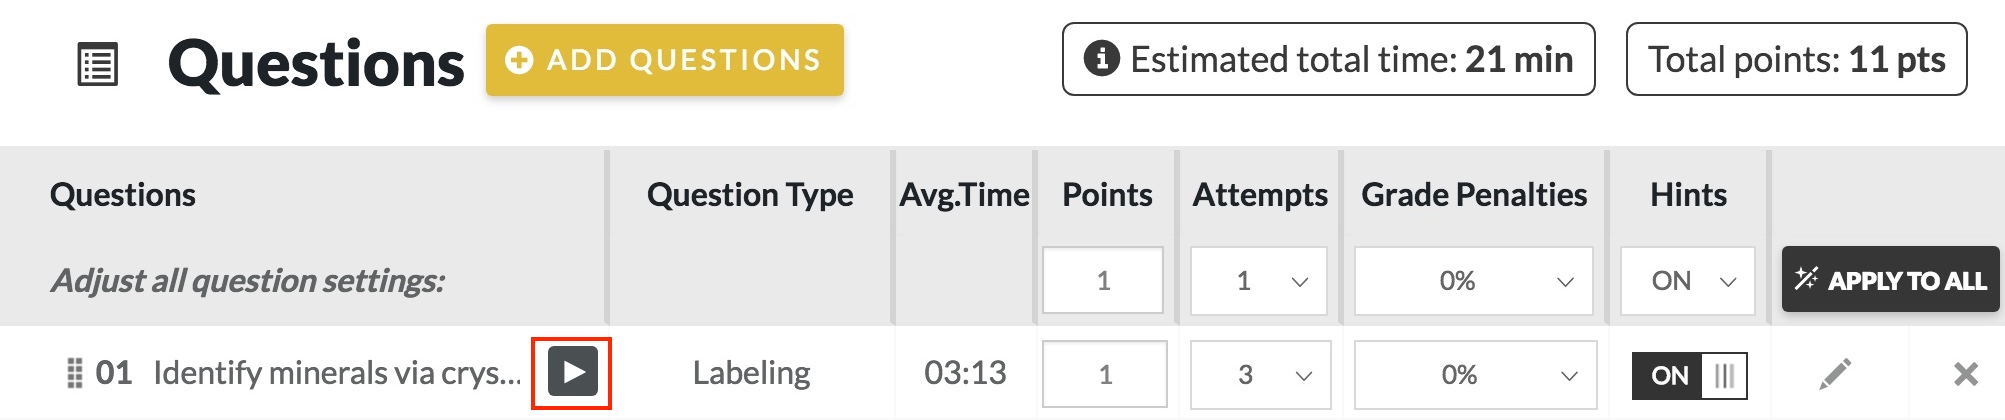
In the Assignment Setting Editor you can also edit individual question's settings. Each question in the assignment is displayed in the Question Settings Table, located underneath the Assignment Settings section.
In the table, determine which question’s settings you would like to change, then go to the appropriate column to make the change.
You can change the following settings in this table:
- Points– You can change the points for each question by going to the points column and typing in the number of points you want the question to be worth. You can use this to weight questions against each other within the assignment.
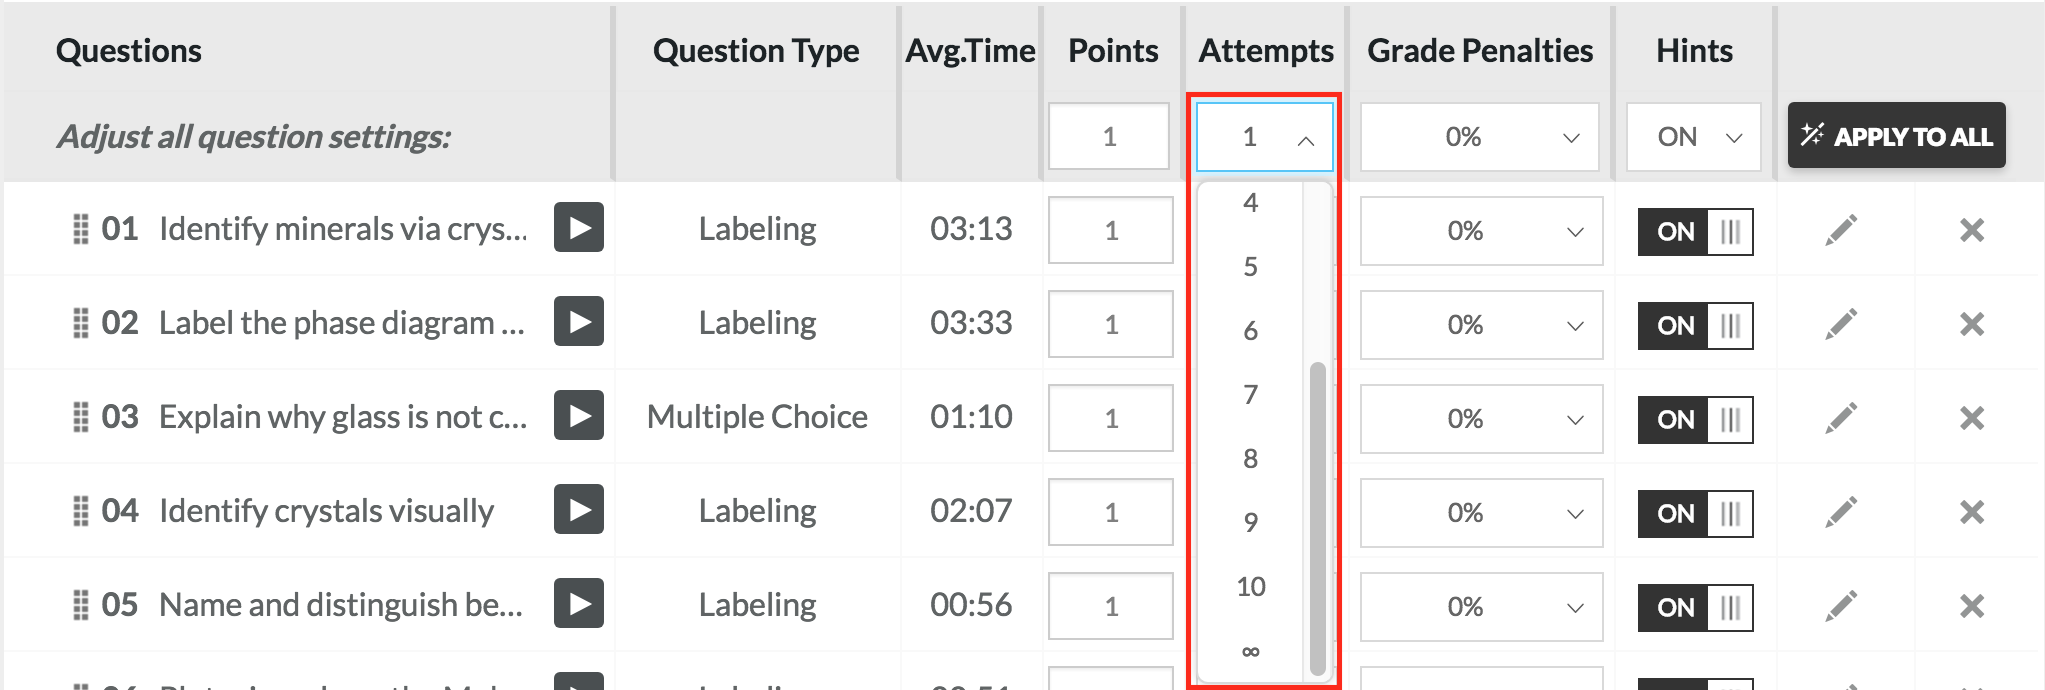
- Graded Attempts– You can change the number of attempts by going to the Attempts column and selecting the number of attempts from the dropdown. You can select 1-10 or unlimited attempts.
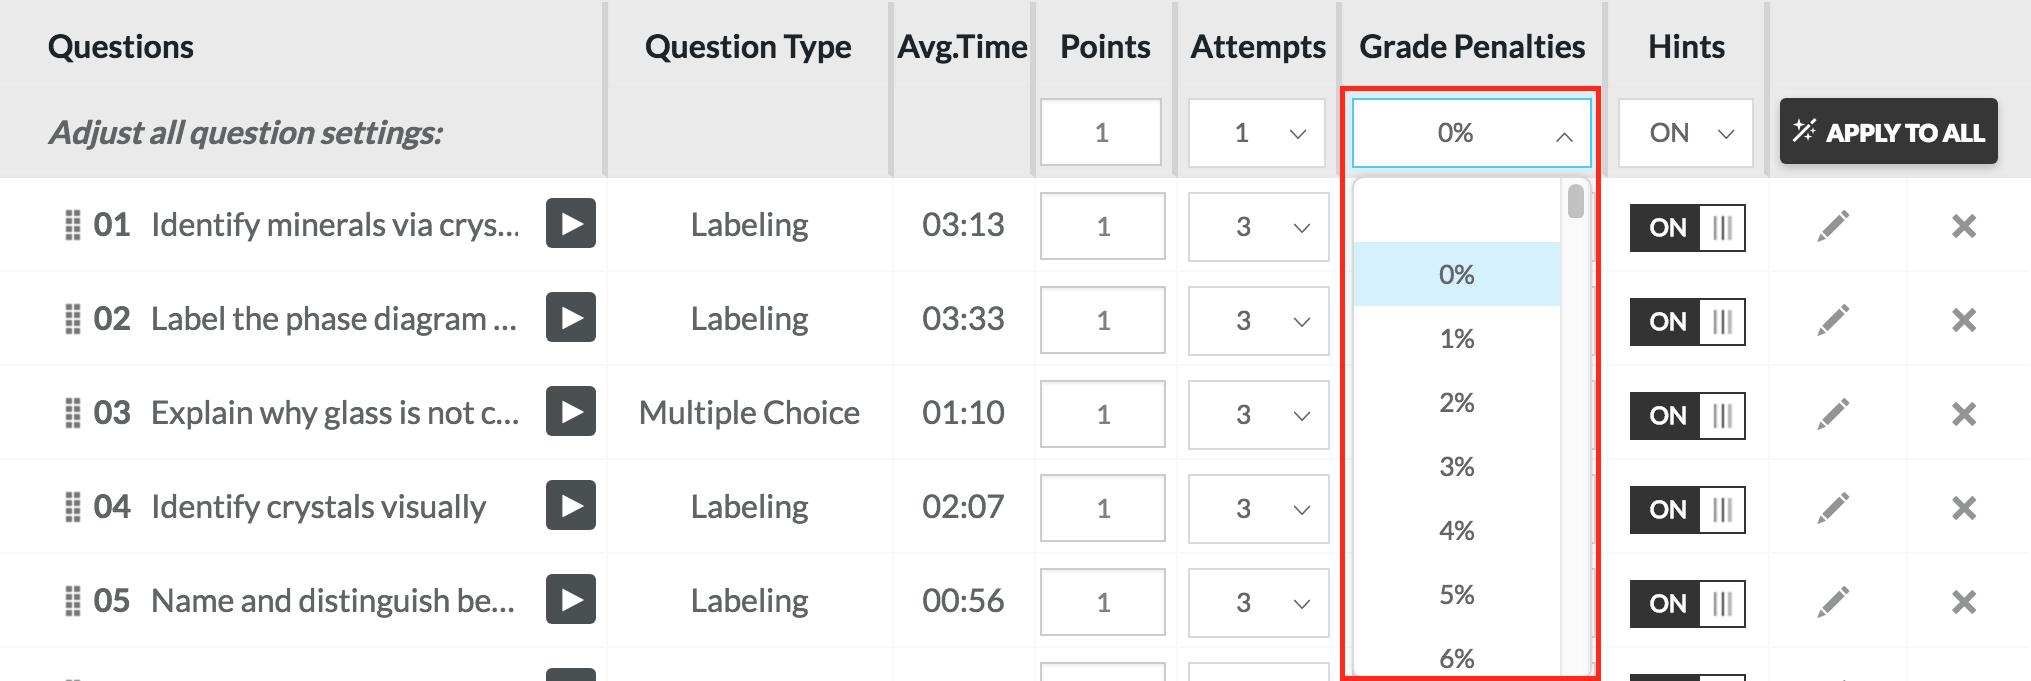
- Grade Penalty– You can change the grade penalty by going to the Grade Penalties column and selecting the percentage of points you would like students to get off for making incorrect attempts. You can select between 0% and 99%.
If the question contains a multiple choice or dropdown module, you have the option to select “Guessing Penalty.” When Guessing Penalty is selected, the system calculates the grade penalty as 1/(n-1), where n is the number of answer choices.
- Hints– You can show hints on a particular question by going to the Hint column and toggling the switch on or off. By default, the toggle is set to “On.”

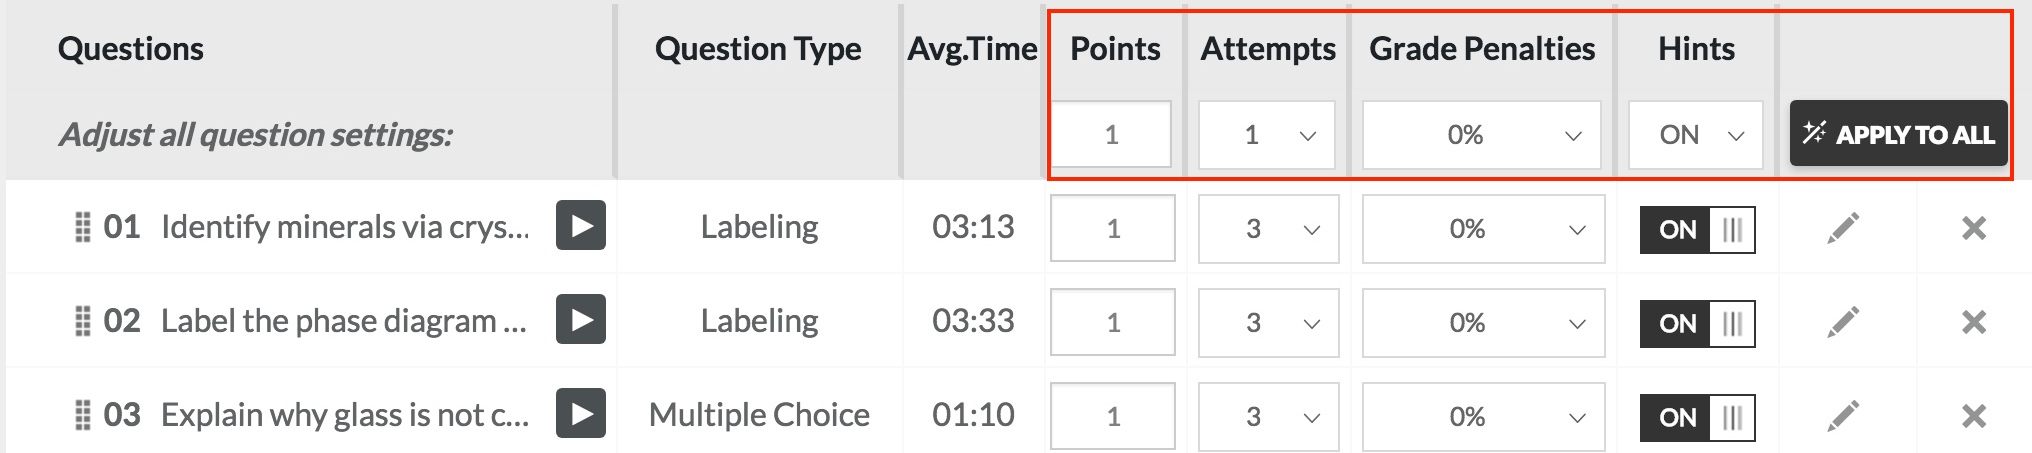
In addition to editing the settings for individual questions, you can change the settings for all questions in the assignment by going to the “Adjust all question settings” row at the top of the table, and making the desired adjustments. Once you make your changes, click the “Apply to All” button to apply these settings to all questions in the assignment.
Previewing, Deleting, Editing, and Reordering Questions
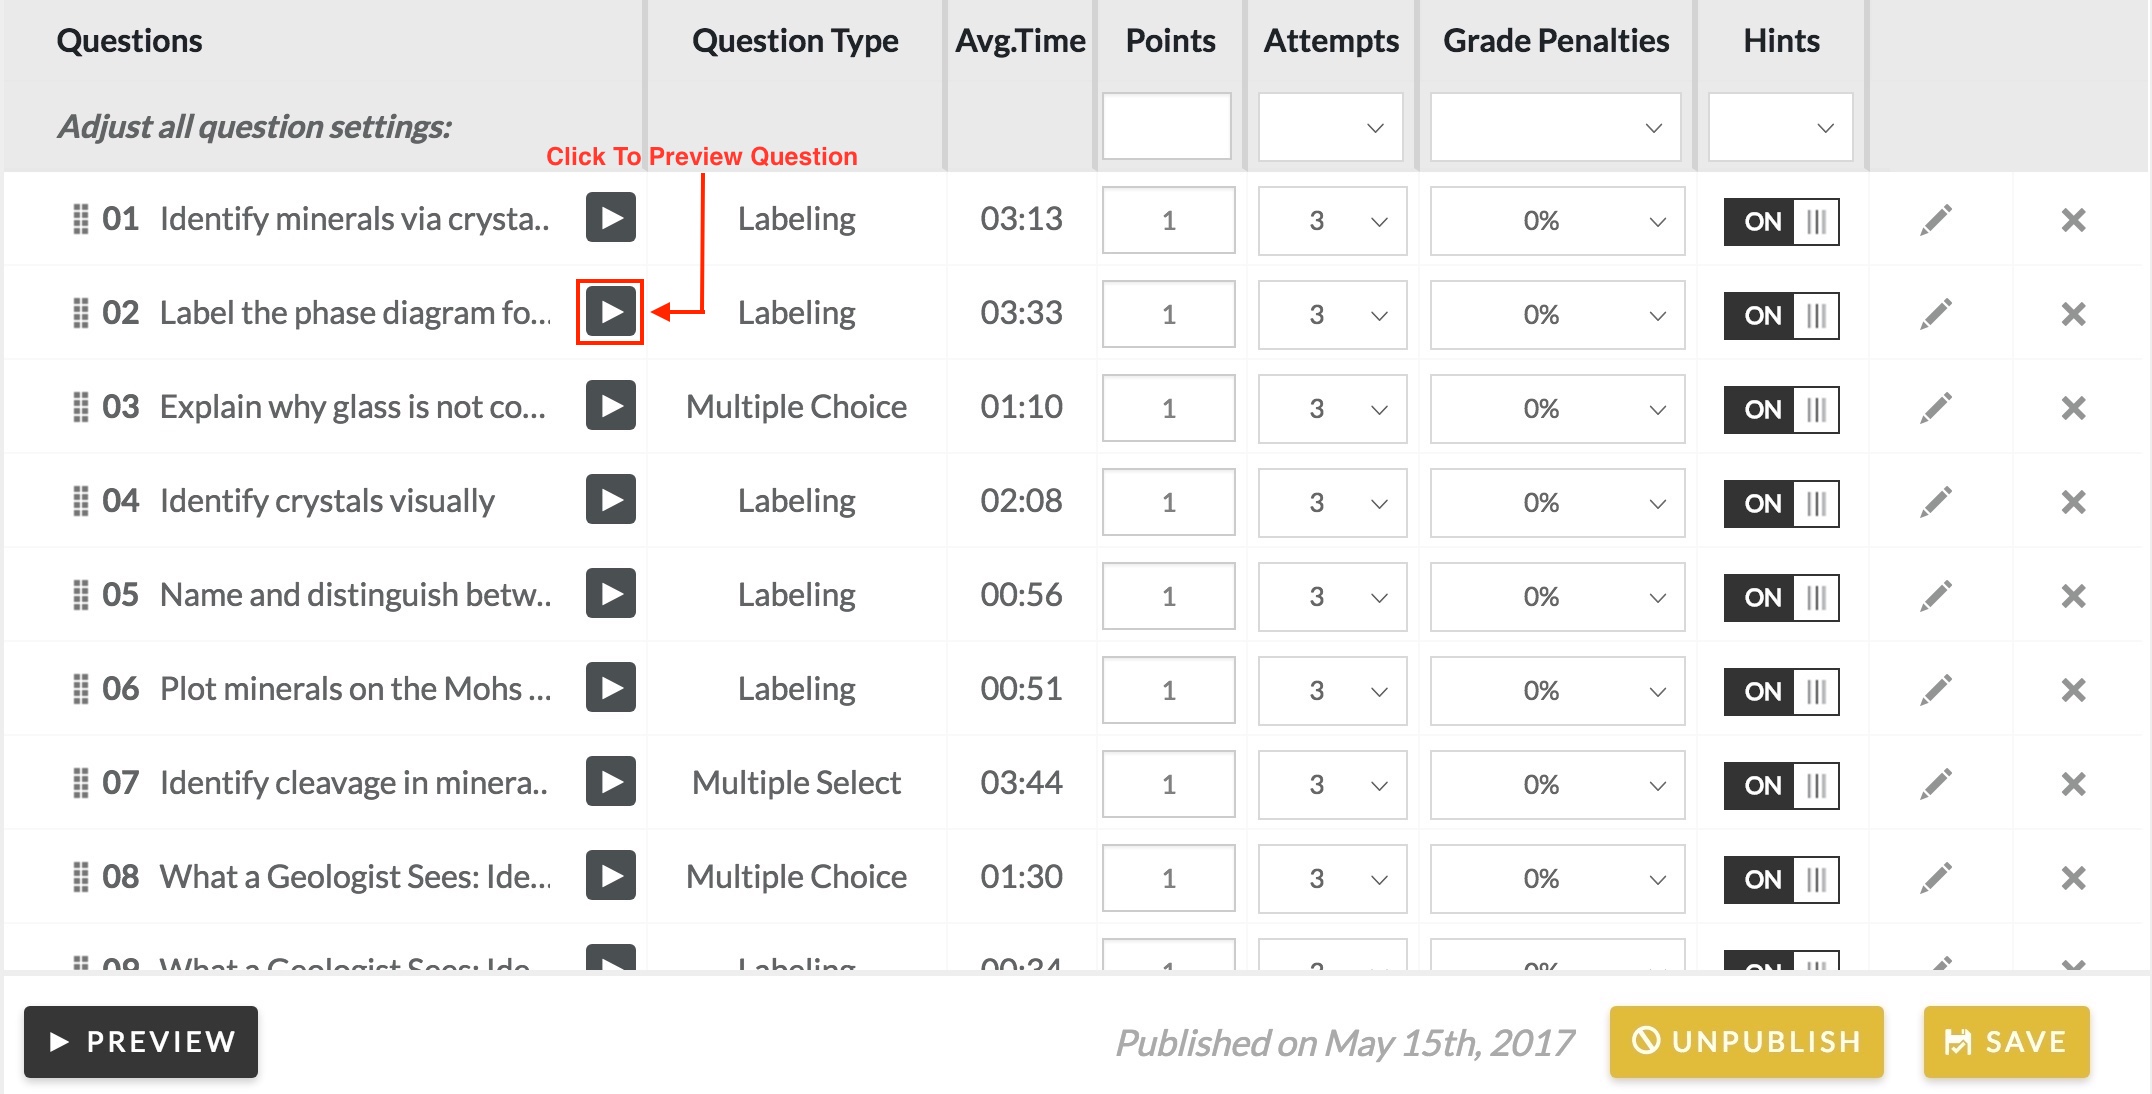
To preview a question in your assignment, click on the "play" button next to the question.
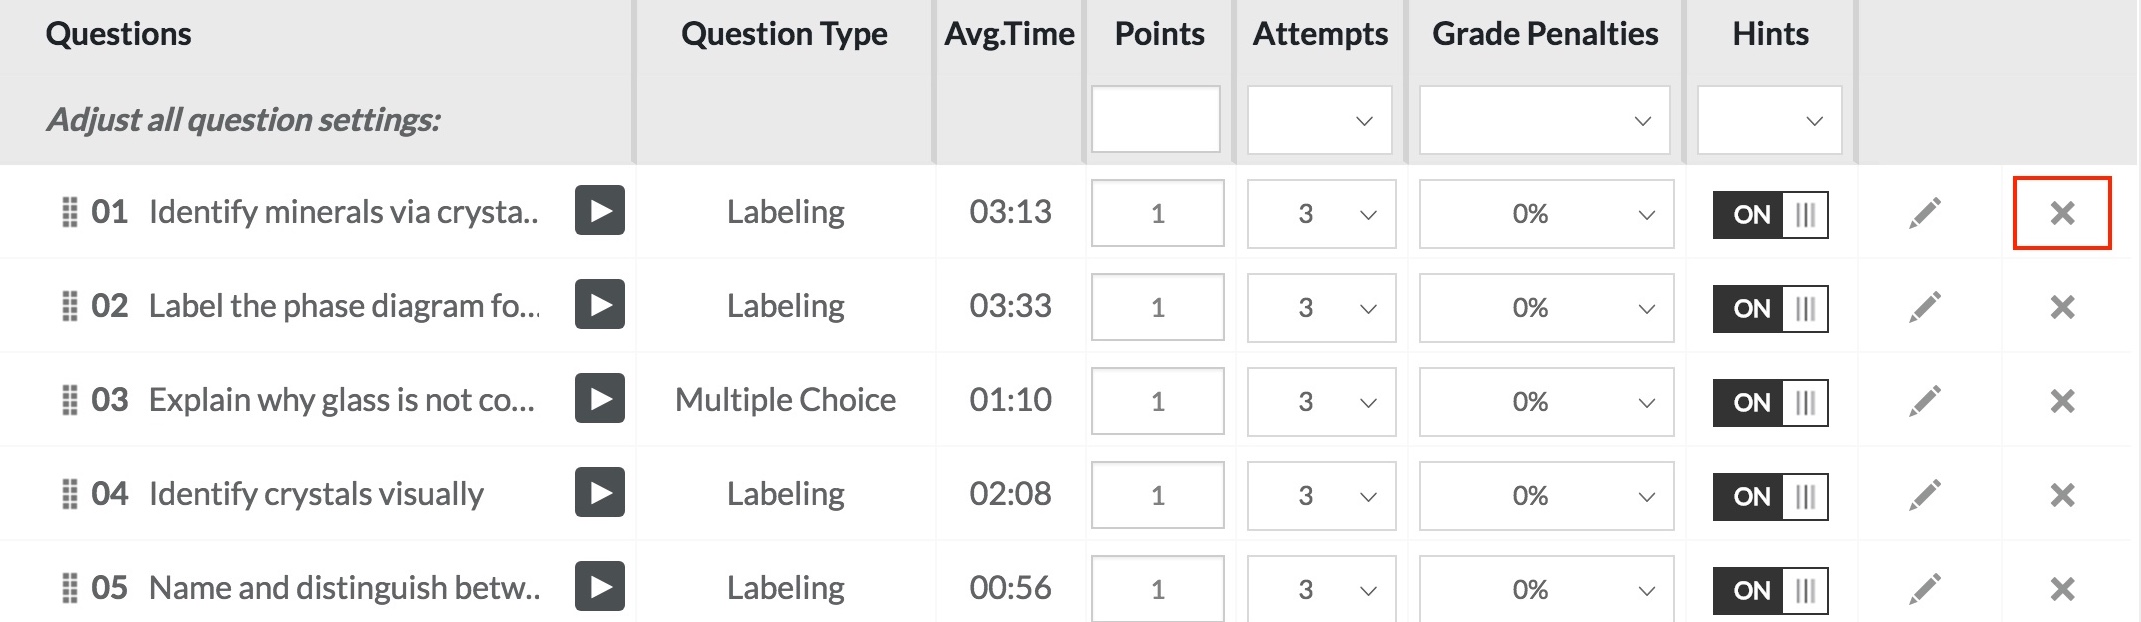
To delete a question from your assignment, click on the X to the right of the question.
To edit a question from your assignment, click on the pencil to the right of the question. For in-depth instructions on how to edit a question, please see the Editing Questions help notes.

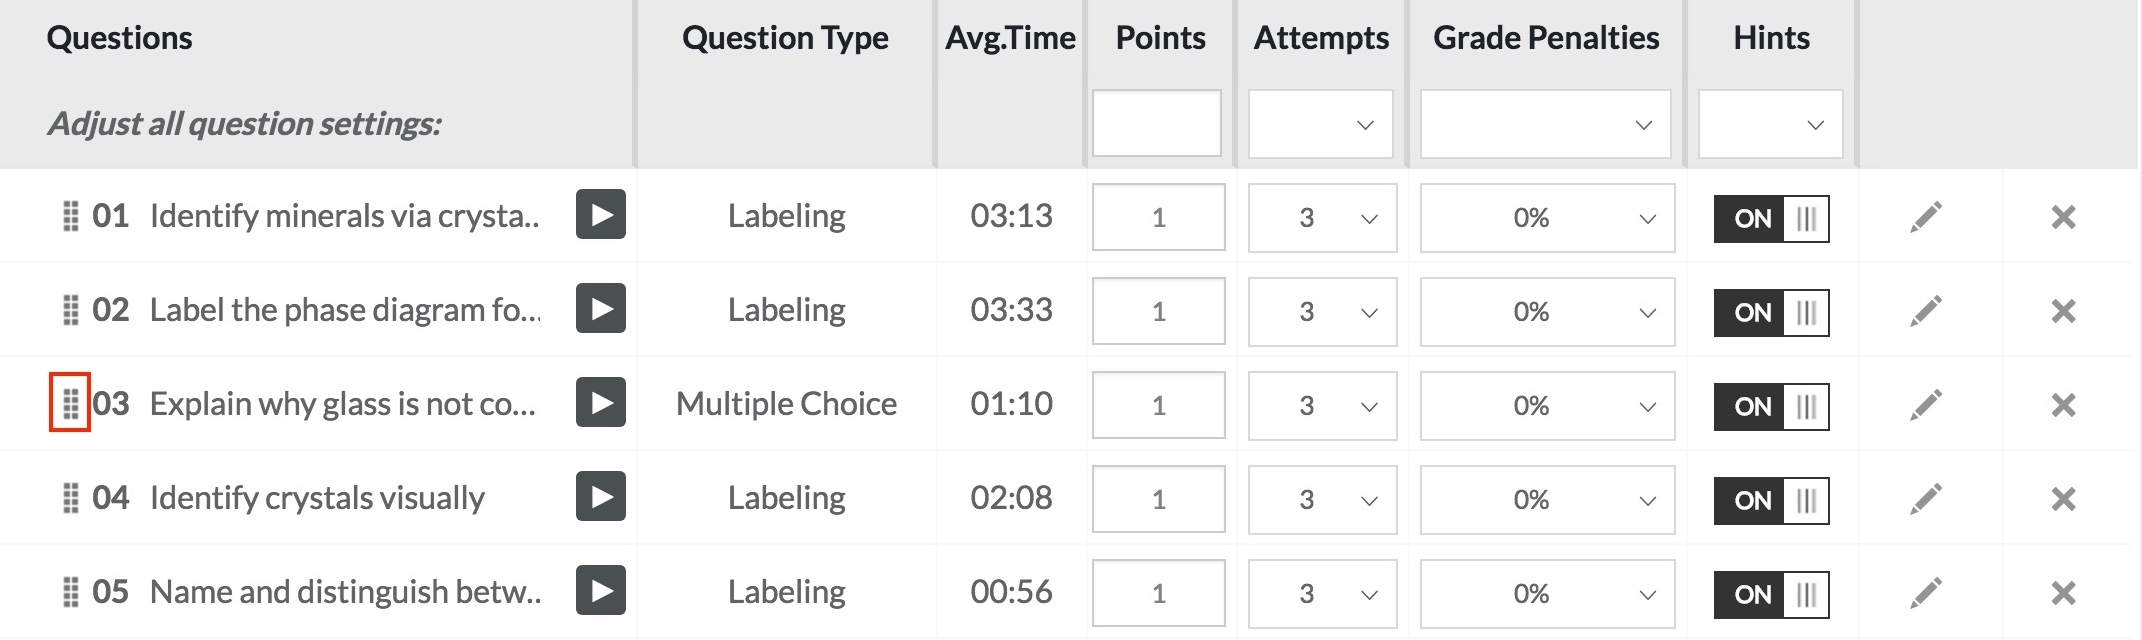
To reorder questions in an assignment, click on the three dots to the left of the question’s title. Then drag the question to its desired location in the assignment.
Saving Assignment Settings
Once you edit an assignment, you can save the settings so that they apply to a certain Student Set, or you can save the settings so that they apply to every instance of this assignment in all Student Sets.
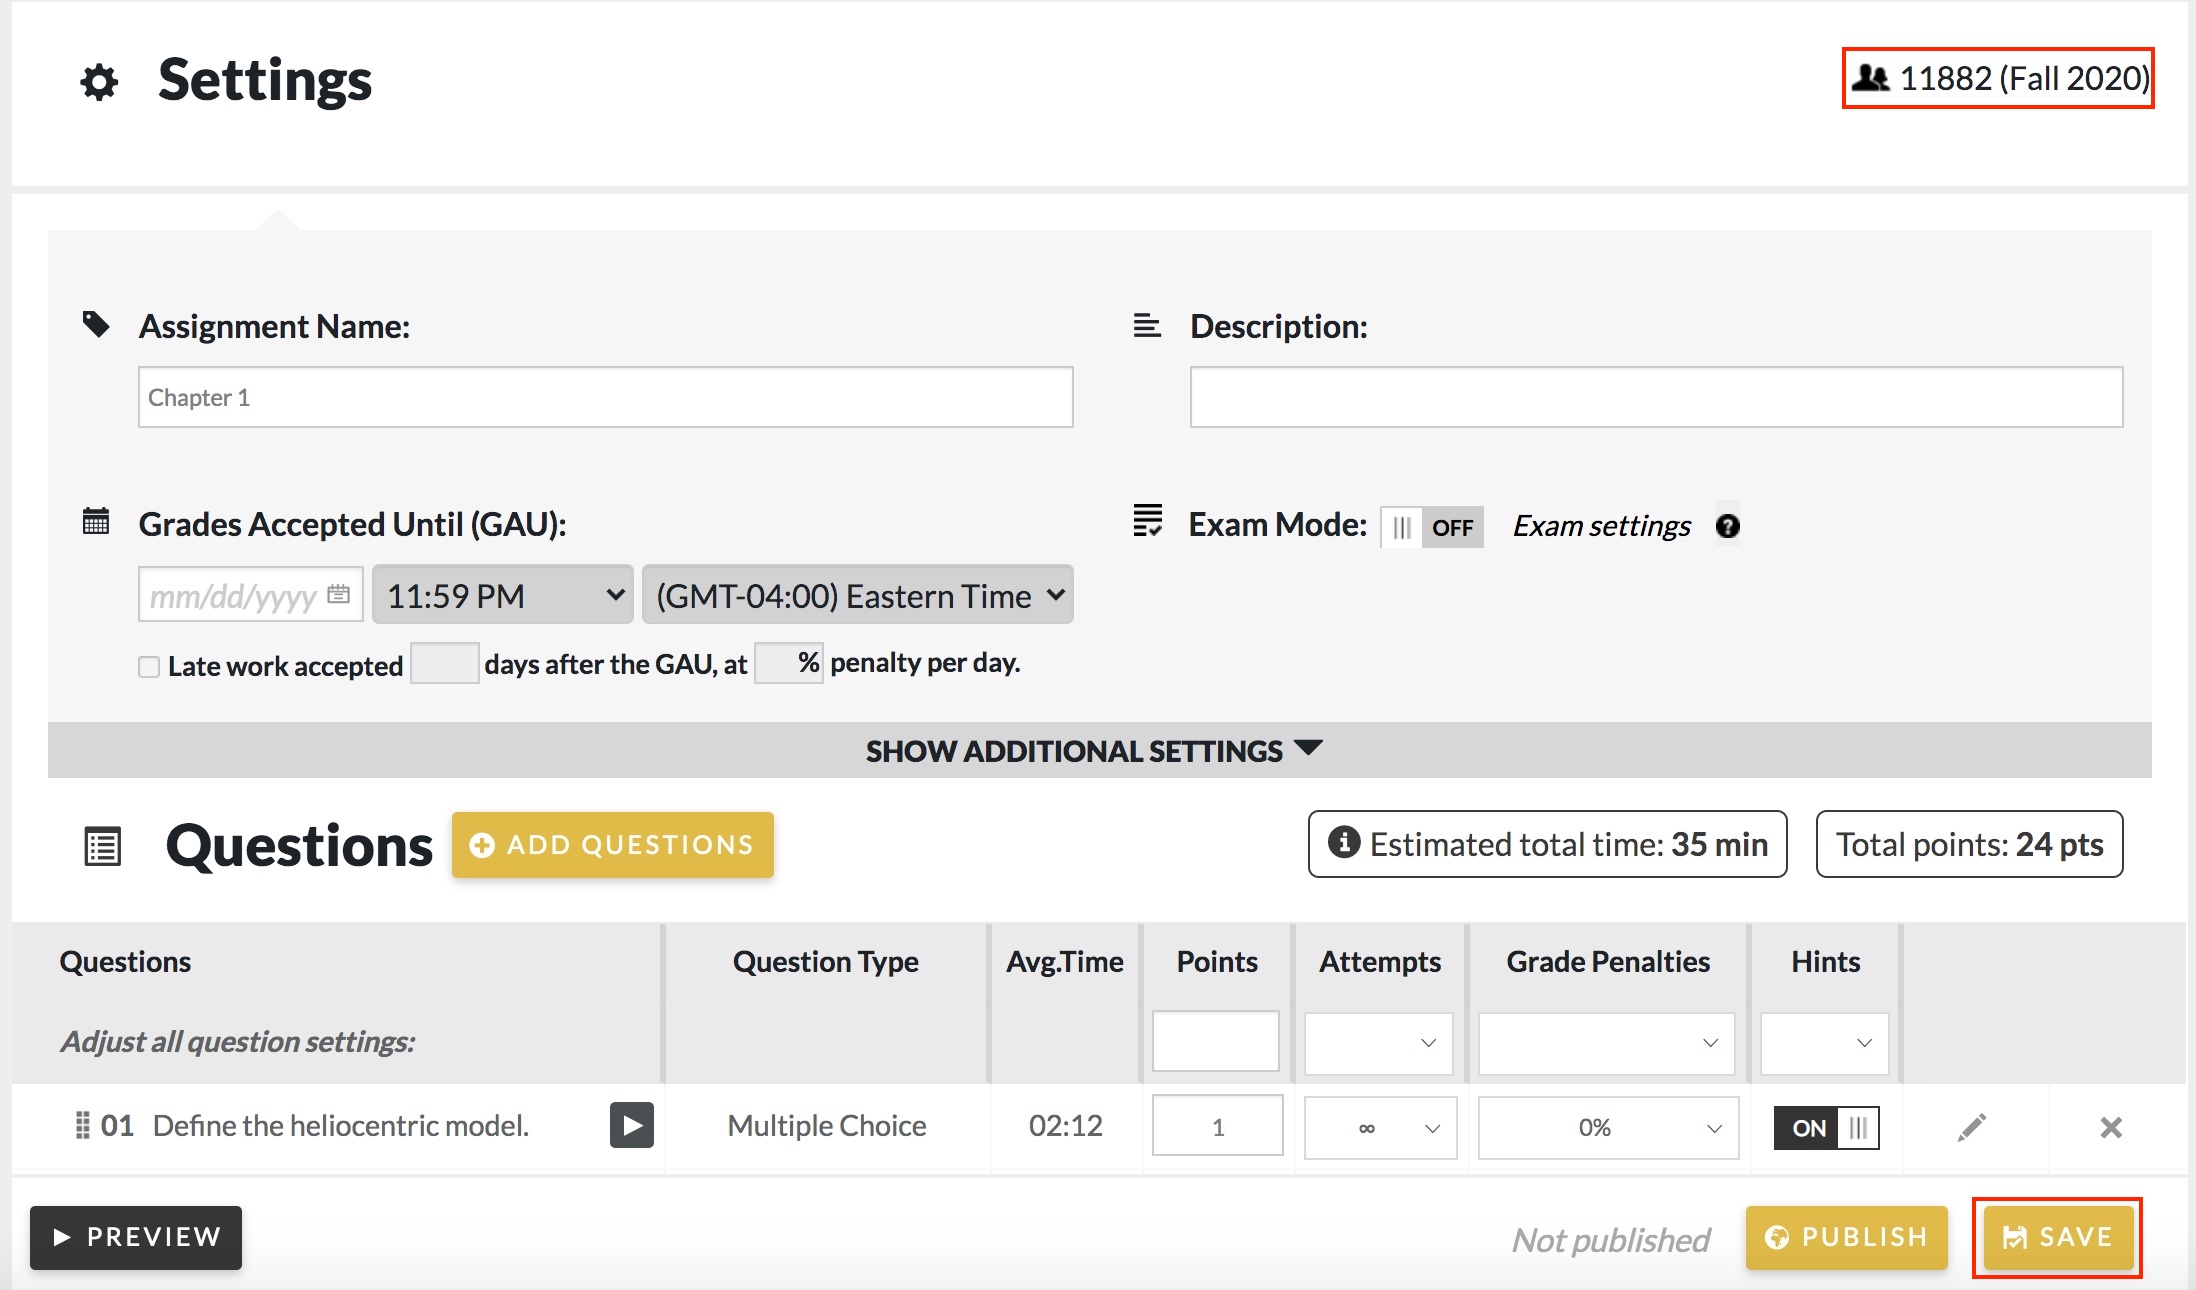
Saving Settings for One Student Set
To save the assignment settings so they apply to only one Student Set, do the following:
- Confirm that the desired student set appears in the top right corner of the Assignment Editor.
- Save your changes by going to the bottom right-hand corner of the Assignment Editor and clicking “Save.”
Saving Settings for All Student Sets
To save the assignment settings so that they apply to all Student Sets that contain the assignment, do the following:
- Click the “Apply to all Student Sets” checkbox, located under the Student Set dropdown. Click "Save To All" to save your changes.
2. A window will pop up. Click "Save to All Student Sets."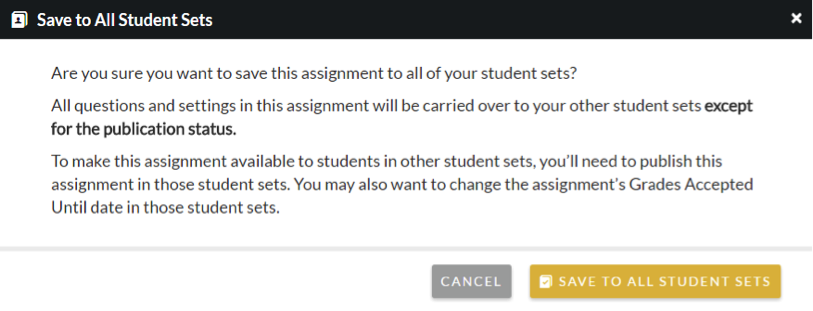
Previewing the Assignment
You can launch a preview of the full assignment to see how students will view it. To preview the assignment, do the following:
- Click the "Preview" button below the list of questions.
- The assignment preview will be launched in a new tab. This assignment page is what your students will see. (The only difference is the "Preview" banner at the top of the page.)


Locked Assignment Settings After a Student Starts an Assignment
Once a student starts work on an assignment, the following settings cannot be changed for an assignment:
- Points
- Add Questions
- Attempt Limits
- Grade Penalties
- Time limit
- Randomize
- Hints
Once a student starts work on an Adaptive assignment, the following settings cannot be changed for an assignment:
- Points (Points value of the entire adaptive portion)
- Add Questions
- Points
- Attempt Limits
E-mail Notifications from Norton about Live Edits of Questions
Live-Edited Question Messages
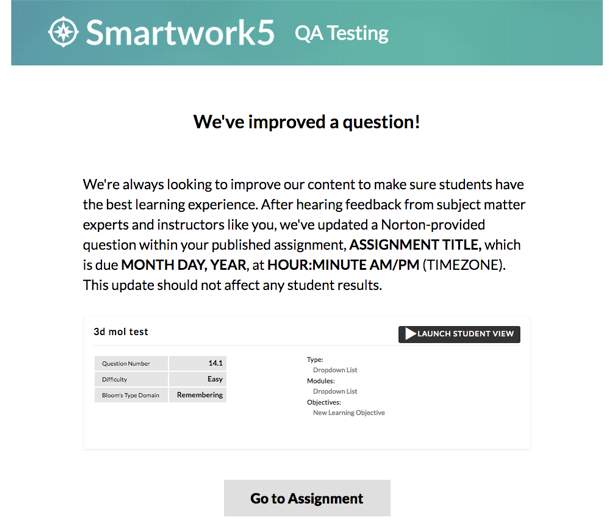
If a question used in published assignments that are available to students is edited, you will see a message from Norton that the question has been updated. You may or may not get a more detailed explanation of what has changed. If it was a small edit such as correcting a typo, it’s more likely you will simply get a short, automated message.
You do not need to take any action for Live updates, as they should not significantly affect any assignments or grading.
Example of a Live Edit E-mail:
Flawed Question Notification E-mail
If you receive a flawed question notification, this means the flawed question was present in a published assignment. We recommend that you remove the question from active assignment(s) and re-grade accordingly. You can use the Credit All function to give students credit for flawed, deleted questions (see Knowledge Owl section about Crediting All).
Example of a Flawed Question E-mail:

If a flawed question is in an assignment that has not yet been published, you will not receive a message; it will automatically be removed from the assignment.
Submit a Support Request
Still need help? Submit a support ticket and a customer support specialist will be happy to assist you.
Opened a request already? Click here for an update.