Setting up your Norton course:
- From Canvas Modules, locate or create a module where you would like to add links. Click the three dotes to the right of the module name.
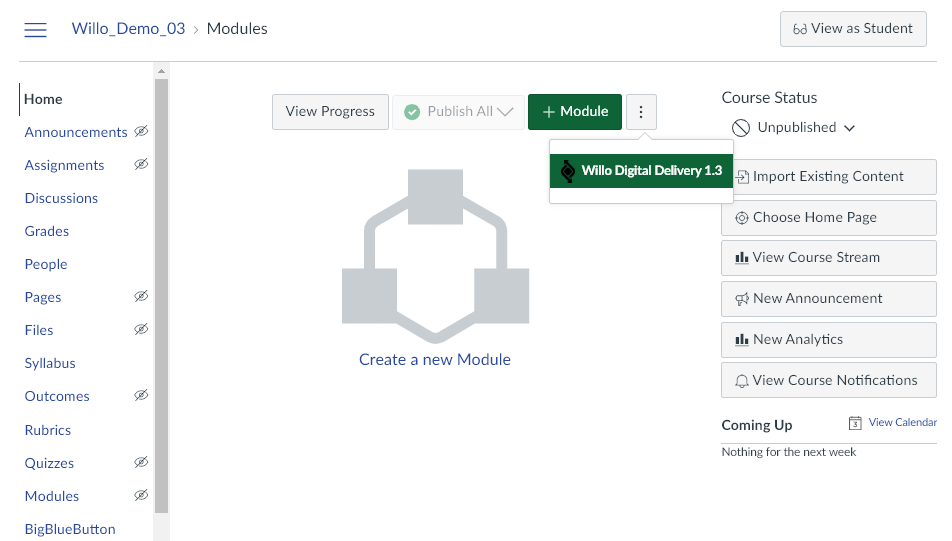
- Select the tool called “Willo Digital Delivery 1.3” Note: the name may vary
- Click Continue in a New Window.
- If your course materials have not yet been paired, you will be prompted to enter a Product Token. See here for more information on Product Tokens.
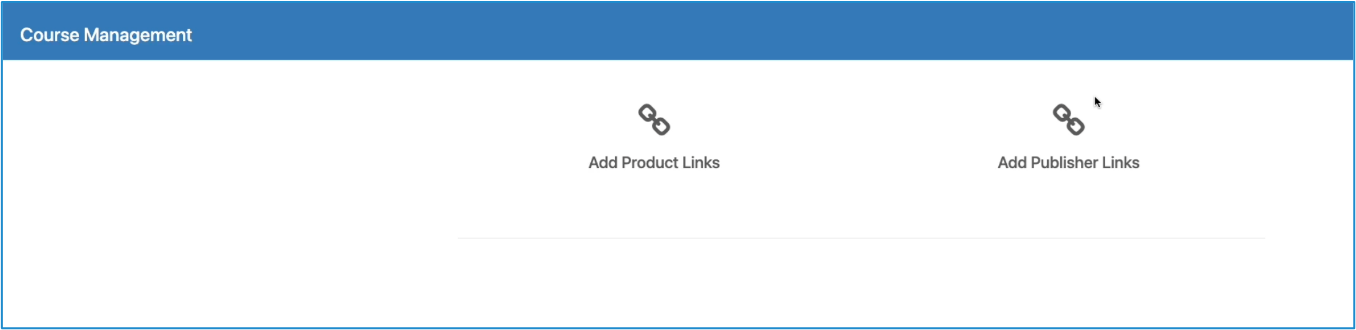
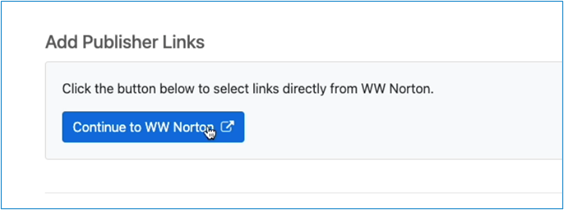
- In Course Management, click Add Publisher Links, and then Continue to W. W. Norton


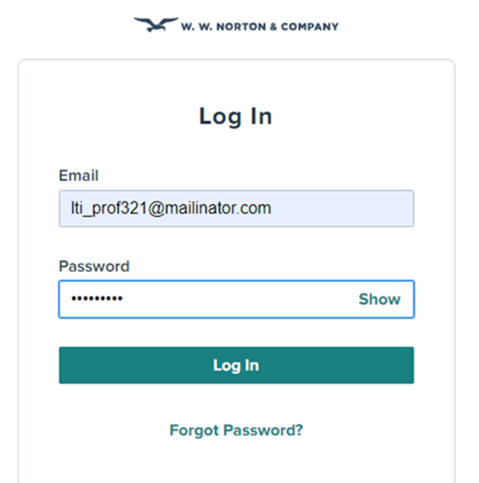
- Log in using the email and password tied to your Norton account. If you don’t have a Norton account yet, reach out to your Norton rep for help.
- Follow the steps in the wizard to create a Norton course, which is matched to your Canvas course. You’ll need to set this up just once per Canvas course.
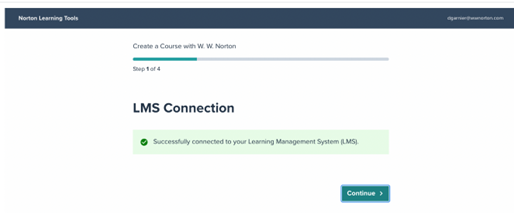
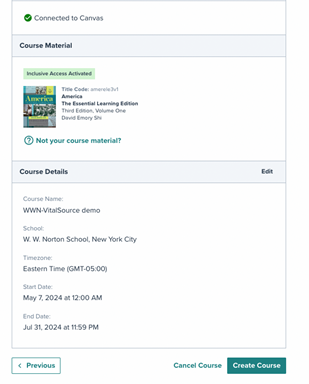
- Step 1. This step confirms that you’re connected with your Canvas course
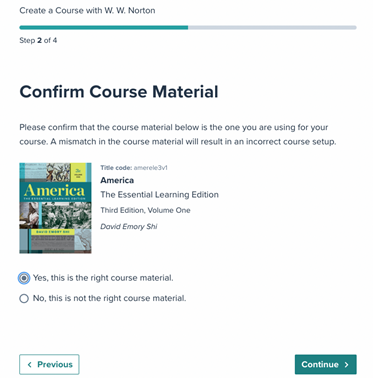
- Step 2. Confirm that the course material paired to your course is correct. If this is not correct, please contact your bookstore to get it updated to the correct material before proceeding.
- If applicable, confirm whether your course is participating in your school’s inclusive or equitable access program. Note that this program can be called different names.
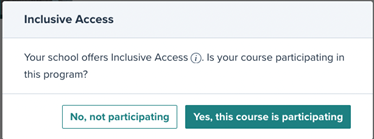
- If applicable, confirm whether your course is participating in your school’s inclusive or equitable access program. Note that this program can be called different names.
- Step 3. Enter some required course details.

- Step 4. Confirm all your course information and create the course. (Or, to correct anything, use the “Previous” button to go back and edit it.)
- Step 1. This step confirms that you’re connected with your Canvas course


Choose your integration type
For graded assignments, you may choose to send individual assignment links (most popular), or product homepage links.
- Choose individual assignment links if you want your students to access separate links for each assignment in Canvas. This will create separate grade columns in the Canvas grade book for each assignment per student.
- Choose product homepage links if you want your student to have one link in Canvas for each Norton product. This will create one grade column for each Norton product in the Canvas gradebook per student. This grade is a cumulative average of all assignments for that product.

Adding deep links to course material:
- Choose course material to add to your Canvas course
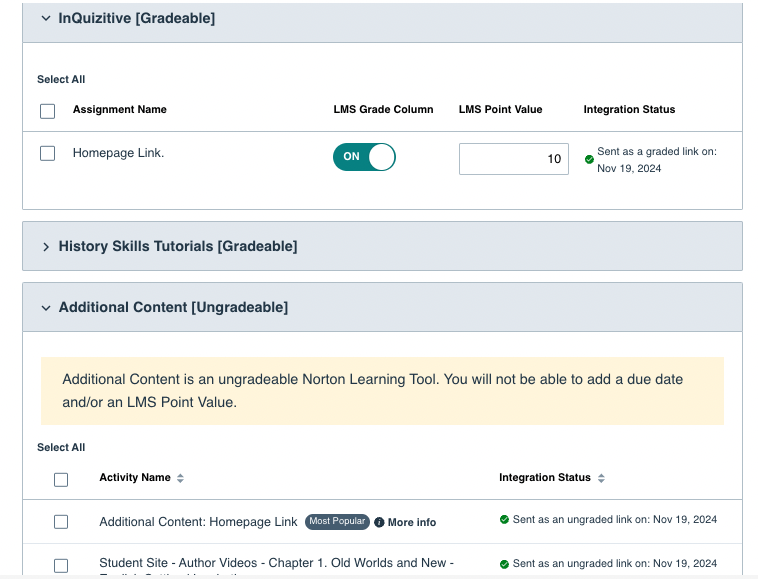
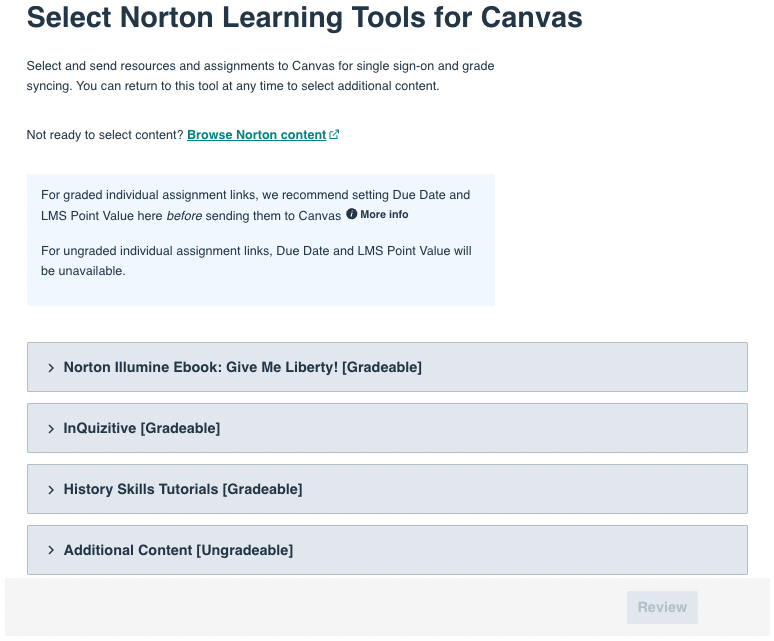 2. If LMS Grade Column is on, the link will send as an Assignment and create a grade column with the specified LMS point value. Edit the LMS point value by typing a new value in the box.

 3. Due dates can be set for graded, individual assignment links.

4. If you turn LMS Grade Column off, the link will send as a link to Modules, and no grade will report to the LMS.

5. Products that are ungradable will only be sent over as links into Modules

6. Click the Review button at the bottom of the screen. You’ll see a summary of the links you selected. Confirm, and Send to Canvas.

7. When complete, the modal will close, and you will see the content in your Canvas course.
- You can reorganize or regroup your content in Canvas so that your course is laid out the way you want.
- Be sure to publish items when you want to make them available to students.
- If you have sent Product Homepage links, you can set due dates on individual assignments within the product. Launch the product homepage link from Canvas and set due dates or edit assignments within the product.

Relaunching deep linking tool:
You don’t have to select all your links at once. You can launch this tool from your Canvas course to add additional links throughout the semester.
- From Canvas Modules, locate or create a module where you would like to add links. Click on the + symbol to the right of the module name.
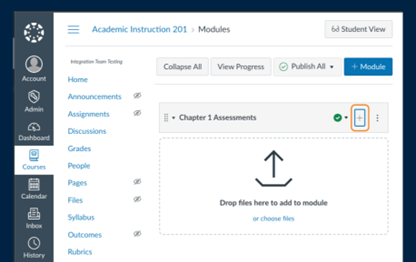
- Select External Tool from the drop down menu, and then select the tool called “Follett-Willo Digital Delivery 1.3” The name may vary, but it should have a magnifying glass icon on the right.
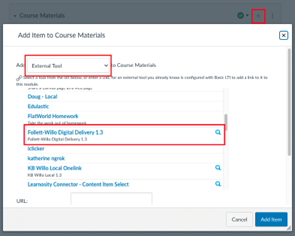
- Click Continue in a New Window.
- In Course Management, click Add Publisher Links, and then Continue to W. W. Norton
- Follow the steps listed here: Adding course material deep links to Canvas
- Note that the tool will indicate which links you have already added to your course
- Note that the tool will indicate which links you have already added to your course


